Grooming
Grooming your Siberian can be a is a very rewarding and relaxing experience for both you and your cat.
Combing your pet minimizes hair shed around the house, and even though Siberians don’t often matt up, grooming reduces or eliminates matting.
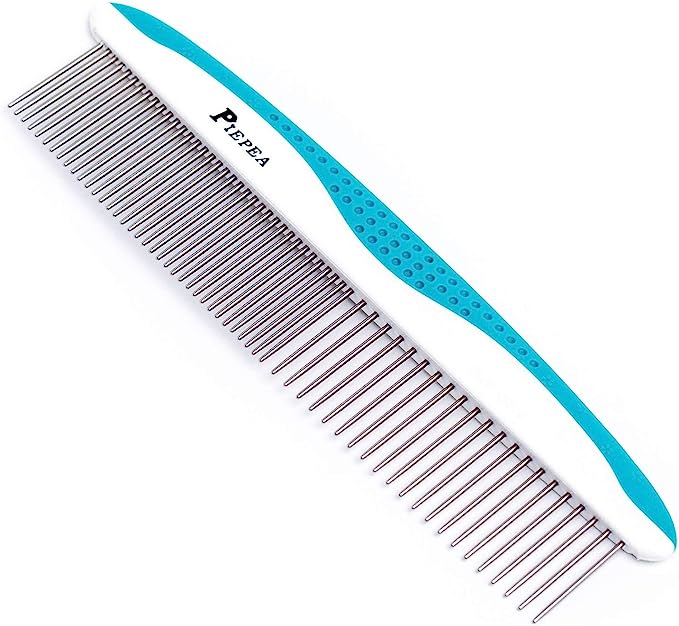
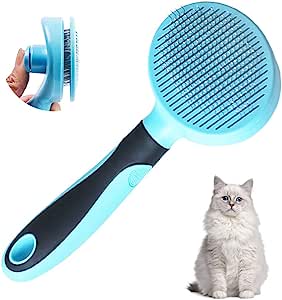
We recommend grooming your cat with a comb and a slicker brush


Starting at a young age helps form that routine and bond that allows you to comb your cat without much fuss or grumbling.
I recommend starting with the not so fun areas – the tummy, and between the legs. Your cat will have more patience at the beginning of
a grooming session for this, and this allows you to end with the enjoyable parts to groom – the back, sides, and tail.
Your Siberian has a triple coat, and while they are less prone to matting, they still need to be groomed every week or two. Using the same
procedure above, get into a relaxed position, and comb your cat methodically, paying special attention to the ruff of the neck, and around the ears.
If you run into matted areas, don’t try to rip them out with the comb (ouch!!) instead, gently work them with your fingers, tugging at the hair bit by
bit to reduce the knot, and leave as much hair behind as possible. If you do it right, there will just be a small knot left at the end. If the matt is
too big, or tight, you may want to consider clipping the hair in that spot – it’s more humane to your pet than ripping the matt out.
Matting is often eliminated completely by regular grooming, and periodic bathing. Natural oils, dirt, and seasonal shedding are what cause matting.
During seasonal changes, pay specific attention to how greasy the coat is. If the coat is greasy, bathing is usually required.
Bathing
Before your baby leaves our home to yours, we ensure that they are bathed all fresh and clean. This means we broke the barrier and did some of the hard work to get them used to bathing.
It’s not that they hate it, but they it is scary… water and a blow dryer? That’s scary!
Before you start your bath, get everything ready. Things you will need:
– Dawn Dish Detergent (clear, purple or blue). Green, yellow or orange may taint the color of their coat
– 2 towels
– soft face cloth
– baby shampoo for their face
– blow dryer
– comb and/or slicker brush
– nail clippers
– spray hose or pitcher for water
– cat carrying crate (optional)
– vinegar (optional)
Run the water before you bring kitty in to ensure it is warm and ready. Turn it off before kitty comes in. 🙂 You can bathe a younger kitten in the kitchen sink – if it’s big enough, or in the bath tub.
Next, get your baby. Run a comb through their coat to ensure there are no matts. If there are, work through them before bathing, otherwise the matts will only get worse with gummed up soap in their matt ball.
Then, start the water and check temperature. Most cats are very receptive to water when it’s just warm -not too hot. If you have a spray hose, spray the coat until it’s wet. If you don’t have a spray hose, use the pitcher to wet their coat.
Next, pour the Dawn dish soap on from the neck to the tail. Gently work it through the coat, going with the grain of the coat (scrubbing will only cause more matting!) . When the soap is all worked in, I like to let it sit for a few mins while I wash their face.
Take the soft face cloth, and get it wet in fresh, clean, non dawn soap water. Ring out excess water and wash their face, eyes, and inside their ears (gently). Next, add a little baby shampoo and gently wash the hair on their face. Rinse the cloth out and use clean water to get all the soap off their faces. You may need to rinse with fresh water a few times. Once this is done, it’s time to rinse their body!
Rinse all the suds out. When you are finished rinsing, rinse some more! Any soap residue will cause dirt to stick to the coat. Some breeders and groomers use a 1-10 combination of vinegar to water to ensure there are no soap suds. You can do this if you’d like – it won’t hurt. But I haven’t found it to be too necessary if you rinse really well.
Once you are done rinsing, gently try to squeeze out excess water from your cat’s coat. This will cut down on drying time. Then wrap your baby up with 1 towel. I like to hold them and talk to them for a few mins while the towel absorbs the water. If the towel is too wet, remove the first towel and wrap your baby with the second towel. Less water the better!
I find that when they are in this vulnerable position, nail cutting is super easy! 🙂 Just extend each toe, one at a time, and carefully clip off just the tip. If your kitten’s nails are sharp, clip them before the bath.
When their coat feels fairly dry, it’s time for the blow dryer to finish the job. If your cat is squirrely about the dryer, it’s usually best to start them off in a safe place (for you and them!)
Place your wet kitty in a travel crate with a towel at the bottom and close the door. Turn the blow dryer on, and blow air on them until they settle and calm down. Once they settle, you may take them out of the crate and either blow dry on the counter, or if you can manage it, in your lap. To help separate the hair, which dries it faster, you can use a slicker brush, or comb while drying. But be prepared for hair blowing around if they are blowing coat!
Once your kitty is less scared about baths, and if the weather is nice, blow drying outside is also an option. Just be sure you have control so your baby doesn’t run away!
Nail Trimming
Nail trimming is an important and vital part of caring for your cat. If your cat is lazy, and doesn’t sharpen their nails (and sometimes even if they do), if you don’t trim the nails periodically, they can grow too long and start piercing their paw pad when they curl over. Plus, trimming the nails will help to prevent accidental piercing or scratching of you, children, screens, furniture, etc.
I find one of the easiest times to clip nails is at bath time. But you need to do it in between too. Every couple weeks will be more than ample to establish a routine and prevent long daggers!
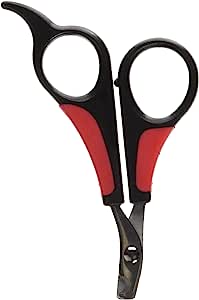
One of the best cat nail clippers are these ones

These clippers tend to cut the nail cleanly without crushing or splitting it. In a pinch, you can also use human nail clippers – it’s not the end of the world… but once you use these, you won’t back!
To clip nails, I place the cat in my lap so they are in a sitting position. This allows me to control all 4 paws and my arm around them.
Next, gently retract the nail you want to clip (don’t forget about their “thumbs” or dewclaws!). Carefully clip the tip of the nail. On most cats, you can see the pinkish part through their white nail. The pink part is the blood supply. In dogs, if you clip this, they can bleed out. Luckily, in cats, you don’t have to worry quite as much – they won’t bleed out, but the experience is still not fun!
If you do happen to knick the quik and your cat starts bleeding, simply continue to hold them, and put some pressure on the tip of their toe until the bleeding stops. If the bleeding is severe, a quick stop aid is flour to pack it… or if available, run their nail over a bar of soap to “put a cork” in it.
Again, the more you practice, the better you and your feline will settle into a routine.